


Introduction: The Physics of the Perfect Edge
Sharpening a knife is often mystified as an ancient art form reserved for master smiths, but at its core, it is a straightforward application of geometry and metallurgy. A dull knife is not merely an inconvenience; it is a safety hazard that requires excessive force, leading to slippage and accidents. From a physics perspective, a sharp knife is an inclined plane (a wedge) where the apex width is minimized to reduce the surface area striking the material, thereby increasing the pressure (Force/Area) applied to the cut.
Many enthusiasts believe achieving a "hair-whittling" edge requires hundreds of dollars in guided systems or electric grinders. This is scientifically incorrect. With an understanding of the parts of a knife blade and the fundamental mechanics of abrasion, you can achieve professional-grade results using minimal equipment. This scientific, data-driven tutorial will guide you through the process of apex refinement, burr formation, and edge alignment.

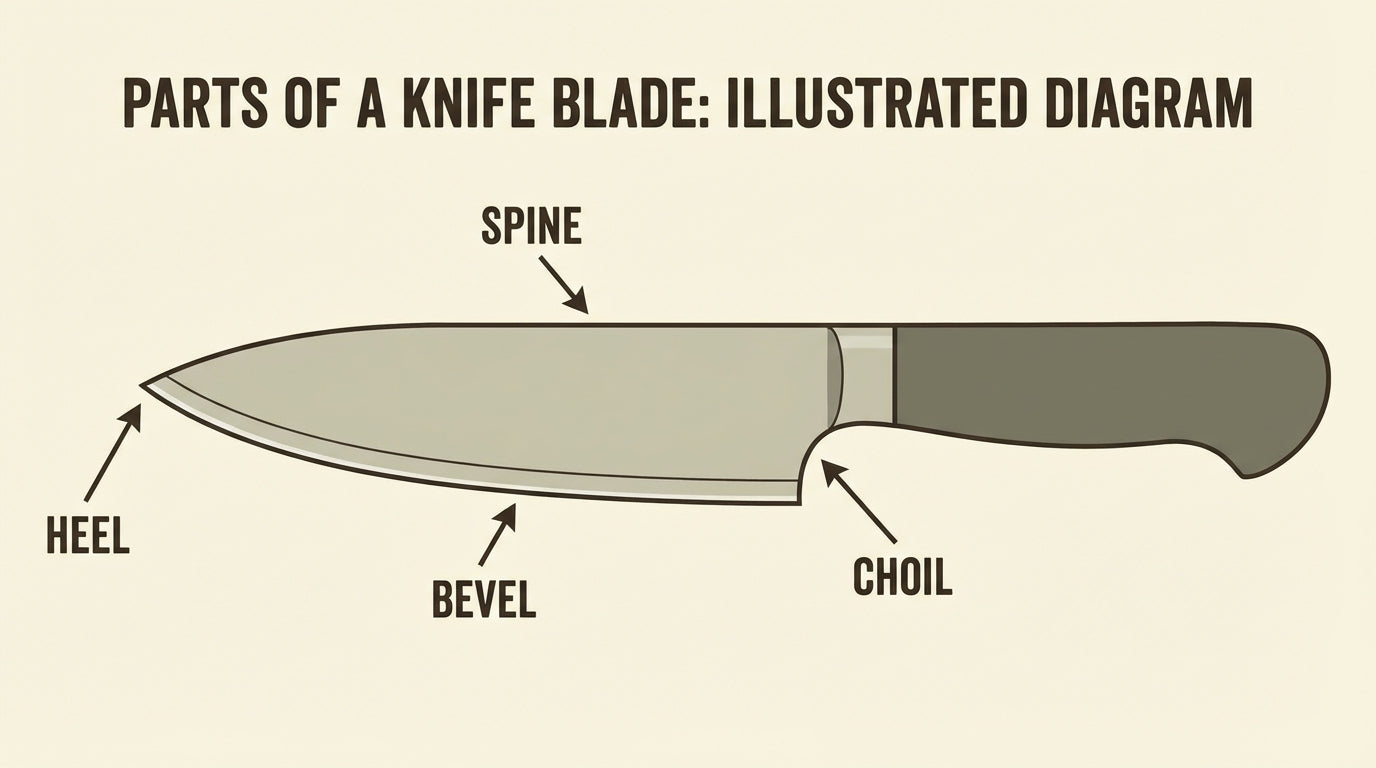
Anatomy 101: Understanding Parts of a Knife Blade
Before abrasive touches steel, one must understand the architecture of the tool. Optimizing your sharpening technique depends heavily on identifying the specific geometries of your knife. The parts of a knife blade dictate the angle, the method, and the abrasive selection.
Below is a breakdown of the critical components you must know:
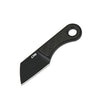
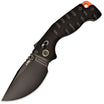
1. The Cutting Edge (The Apex)
This is the microscopic point where the two bevels meet. In a sharp knife, this width is often measured in microns. Sharpening is the process of abrading the side bevels to reduce the radius of this apex.
2. The Primary and Secondary Bevel
Most modern kitchen and EDC knives have a compound bevel. The Primary Bevel is the grind of the knife itself (e.g., flat, hollow, or sabre grind), tapering from the spine towards the edge. The Secondary Bevel (or the micro-bevel) is the actual cutting edge created by sharpening. Understanding this distinction is vital; you are usually sharpening the secondary bevel, not the primary grind.
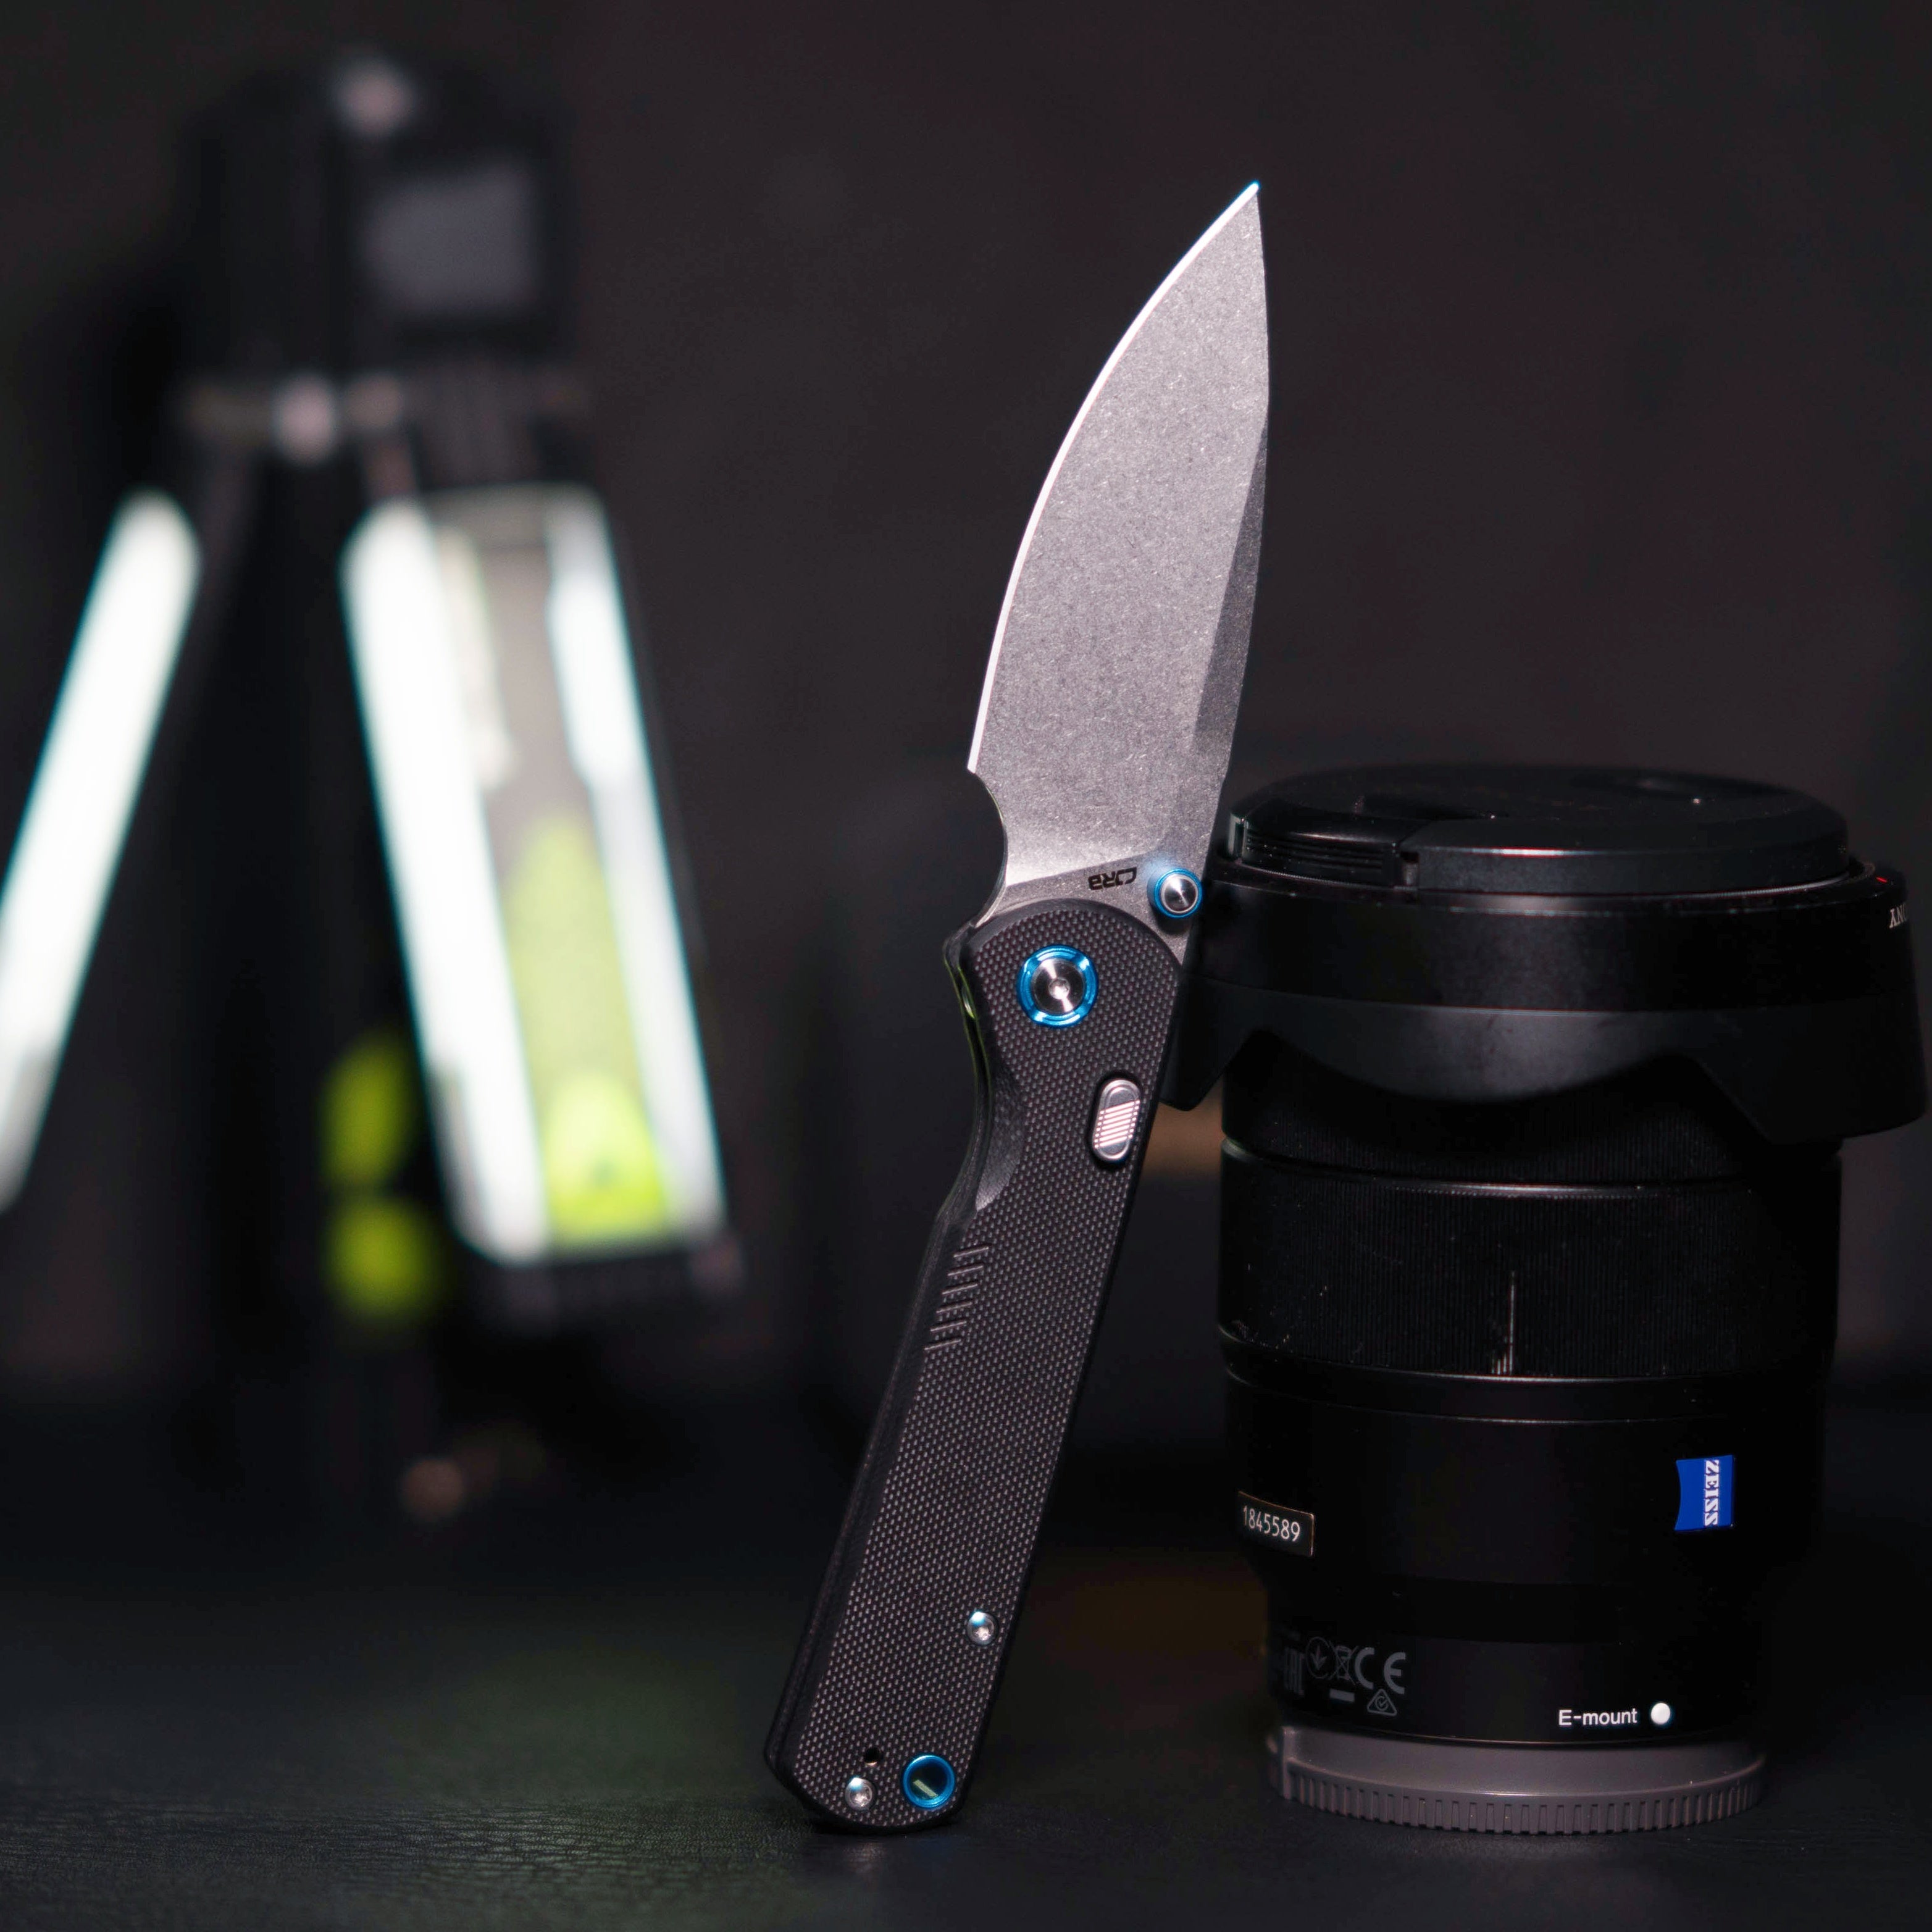
3. The Spine and Swedge
The Spine is the unsharpened top of the blade. It provides the structural mass. Some knives feature a Swedge, a false edge on the spine that reduces weight and distal taper friction.
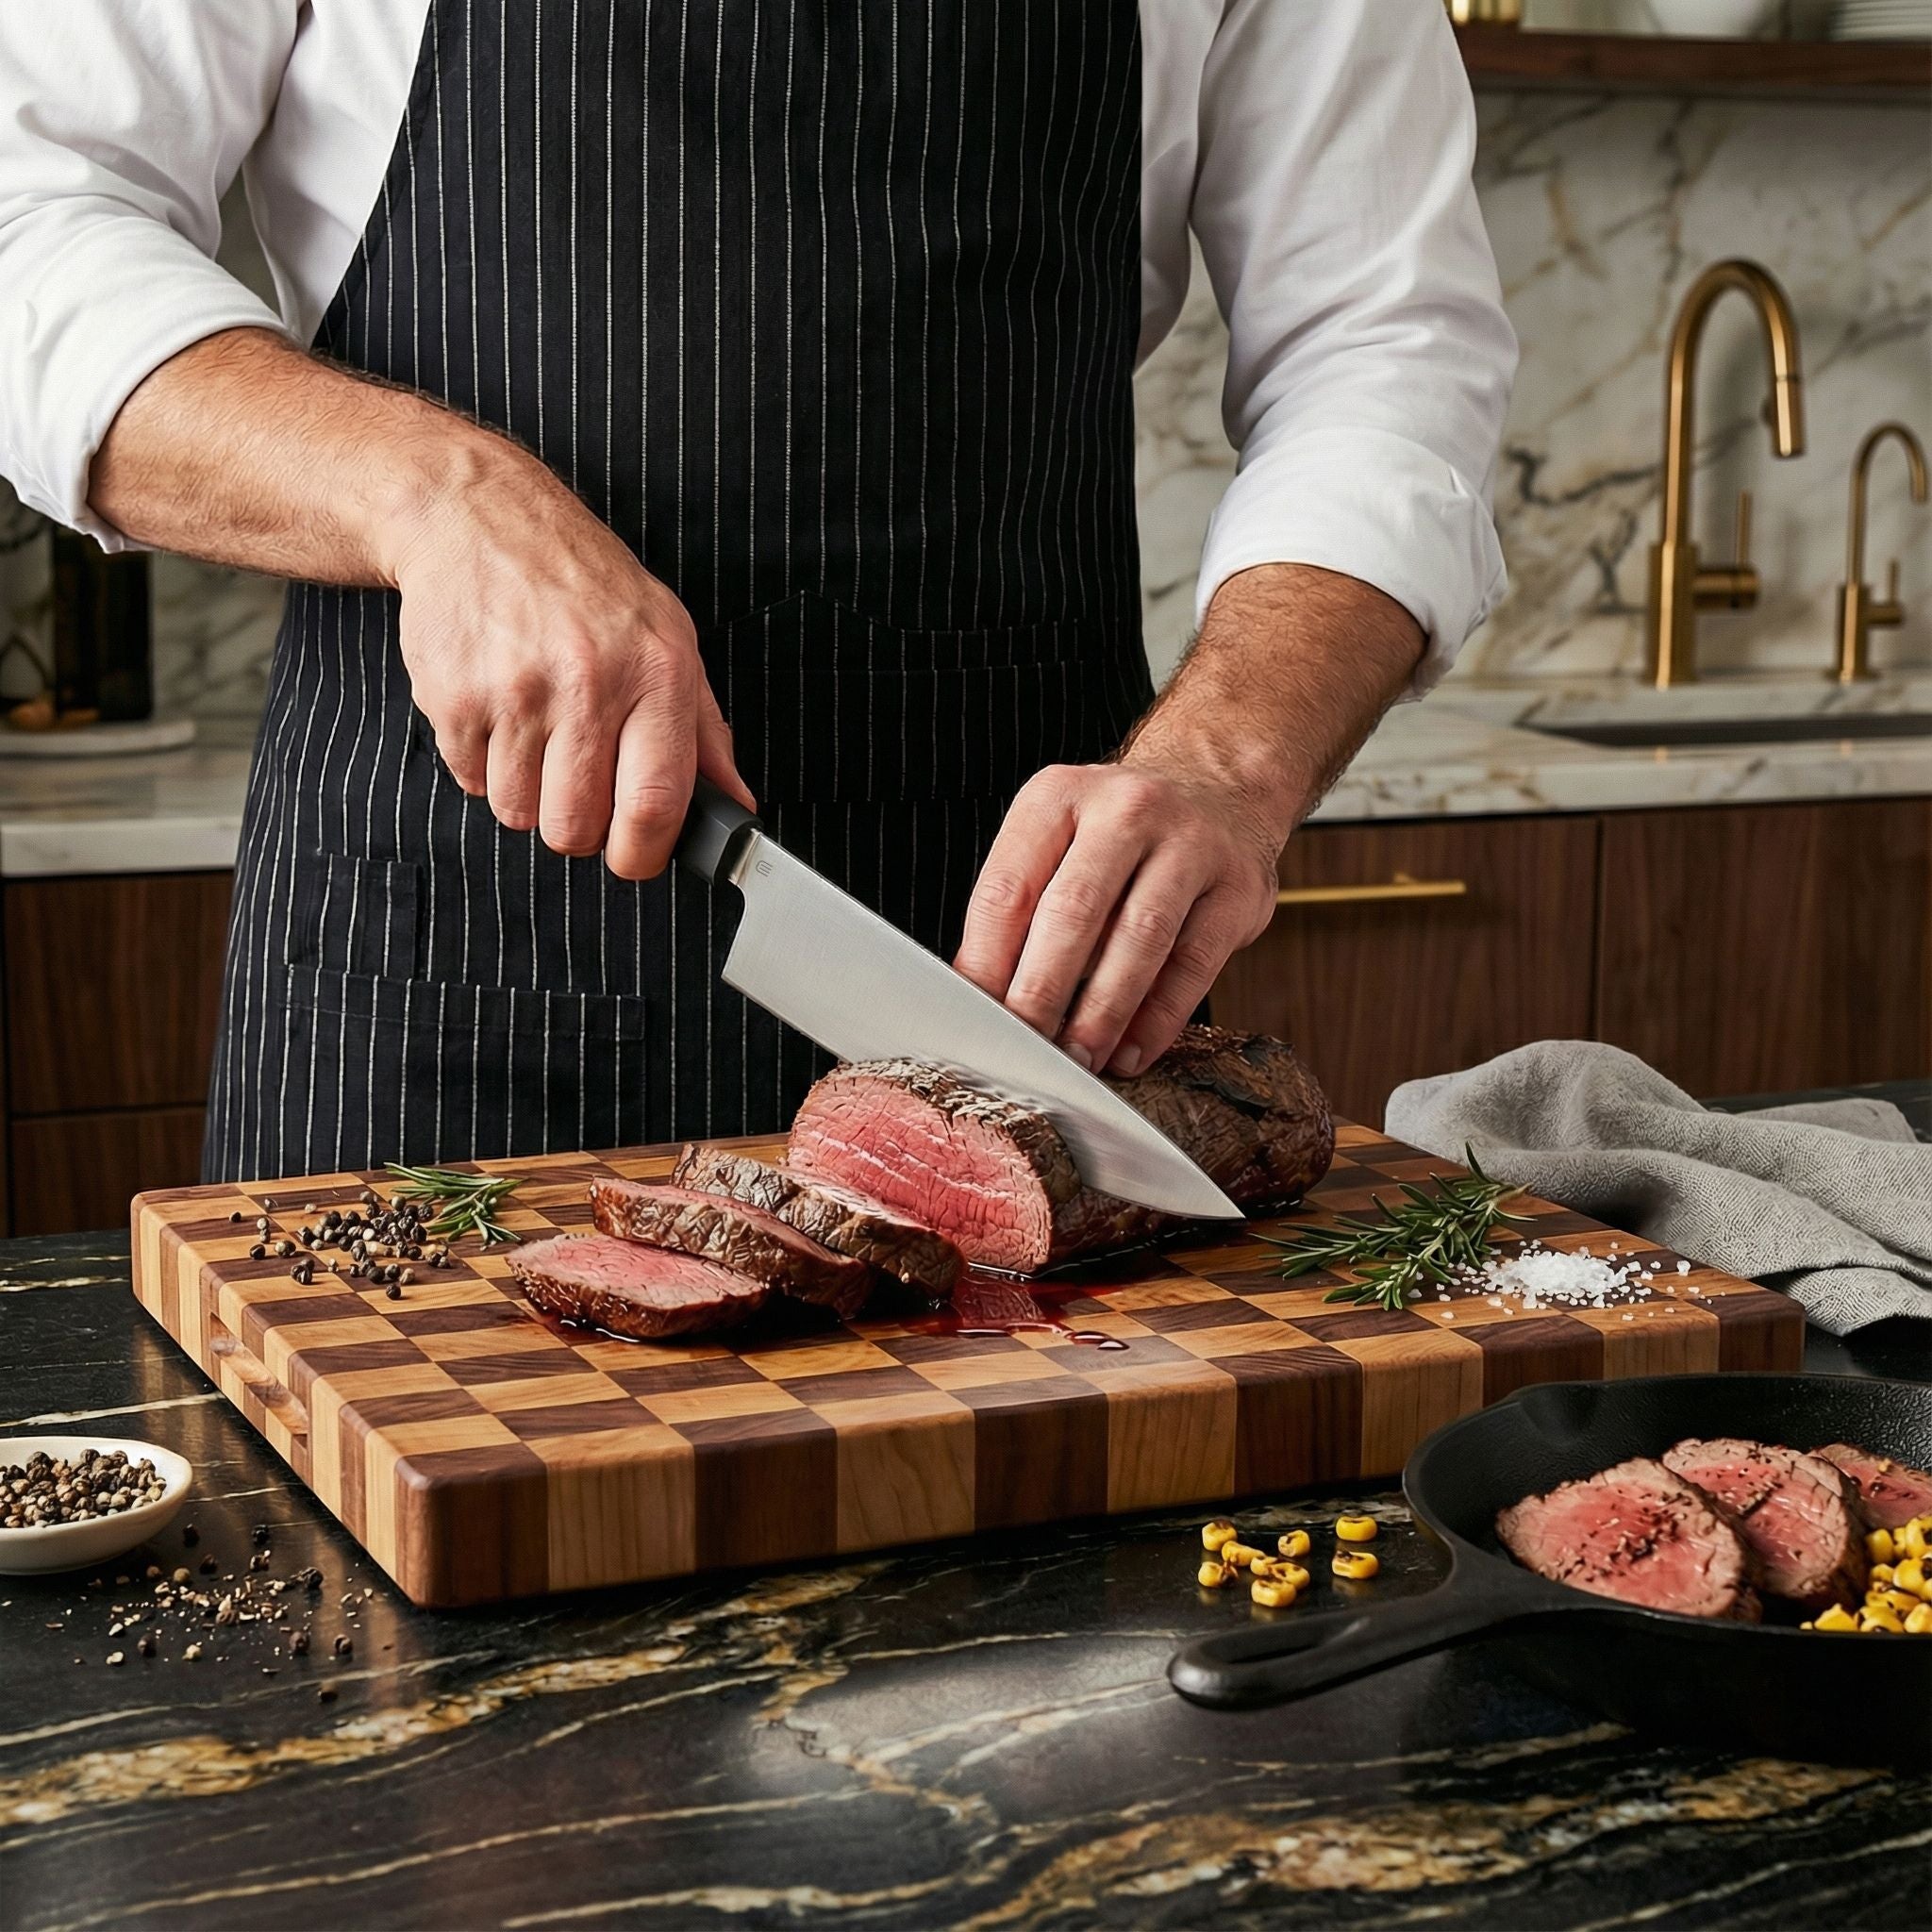
4. The Heel and Tip
The Heel is the rear part of the edge closest to the handle, used for high-force cuts. The Tip is the forward-most point, used for delicate work. Sharpening these areas requires distinct biomechanical movements to maintain a consistent angle.

Table 1: Blade Geometry & Sharpening Implications
| Blade Part/Geometry | Function | Sharpening Consideration |
|---|---|---|
| Ricasso / Plunge Line | The flat section before the bevel begins. | Avoid grinding into the plunge line to prevent aesthetic damage and stress risers. |
| Choil | Unsharpened indentation before the edge starts. | Commonly used as a sharpening stop point (Sharpening Choil) to allow full edge sharpening. |
| Belly | The curved section of the edge. | Requires lifting the handle while sharpening to maintain a consistent angle perpendicular to the stone. |
| Recurve | An S-shaped edge profile. | Cannot be sharpened on flat stones easily; requires rod-based systems or edge-trailing on rounded surfaces. |
The Science of Abrasion: Grit and Micron Data
Sharpening is "controlled destruction." You are using harder particles (abrasives like aluminum oxide, silicon carbide, or diamond) to scratch away softer material (steel) to form a new triangular apex. The efficiency of this process is defined by the Grit Size.
It is crucial to understand that "Grit" is not a universal standard. The two most common standards are JIS (Japanese Industrial Standard) and FEPA (European). For scientific accuracy, we often refer to the particle size in Microns (µm).
Table 2: Grit to Micron Conversion Chart
| Classification | JIS Grit | Micron Size (approx) | Purpose |
|---|---|---|---|
| Coarse / Repair | #200 - #400 | 70µm - 40µm | Removing chips, re-profiling the bevel, establishing a new geometry. |
| Medium / Sharpening | #800 - #1000 | 20µm - 15µm | The core sharpening stage. Refines the scratch pattern and creates a working edge. |
| Fine / Polishing | #3000 - #5000 | 5µm - 3µm | Polishing the edge, refining the burr to a mirror finish. |
| Ultra Fine / Stropping | #8000+ / Strop | 1µm - 0.5µm | Realigning the apex and removing the microscopic wire burr. |
Gear Selection: The "Low-Cost" Scientific Approach
You do not need a $400 guided sharpening system. The physics remains the same regardless of the tool. Here are the most effective low-cost methods:
- The Whetstone (Water Stone): The gold standard. A double-sided #1000/#6000 stone costs less than $30 and can last a decade. It offers the best tactile feedback.
- Sandpaper & Mousepad (The Convex Method): By placing high-grit automotive sandpaper (wet/dry) over a soft mousepad, you create a slight curve that naturally forms a convex edge. This is incredibly cheap and highly effective for field maintenance.
- The Ceramic Mug Hack: In a survival or rental house scenario, the unglazed ring on the bottom of a ceramic coffee mug acts as a fine ceramic rod (approx. #1000 grit).

Step-by-Step Tutorial: The Whetstone Method
For this tutorial, we will focus on the Whetstone method as it teaches the fundamental muscle memory required for all other methods. We assume a standard double-bevel knife (like a chef's knife or pocket knife).
Step 1: Preparation and Soaking
If using a standard water stone, submerge it in water for 10-15 minutes until bubbles stop rising. This saturation prevents the porous stone from absorbing the metal swarf instantly and ensures a lubricated slurry forms. Note: "Splash and Go" stones do not require soaking.
Step 2: Finding the Angle (The Matchbook Method)
The most critical variable is the Edge Angle. Most Western knives are ground at 20 degrees per side; Japanese knives at 15 degrees.
Scientific Tip: You don't need a protractor. Placing two quarters (coins) under the spine of the knife while the edge touches the stone usually approximates a 15-20 degree angle. Lock your wrist. The movement must come from your shoulder/elbow, not your wrist, to maintain this constant angle.
Step 3: Creating the Burr (The Plastic Deformation Phase)
This is where 90% of people fail. You are not just rubbing the knife on the stone; you are grinding steel until the two bevels meet and the metal "overflows" to the other side. This overflow is called the Burr.
- Start on the coarse/medium side (#1000).
- Apply about 4-6 lbs of pressure (enough to turn your fingernails white if you pressed on a scale).
- Push the knife across the stone in sweeping motions or sections.
- The Check: Stop and feel the opposite side of the edge with your thumb (carefully moving away from the edge). If you feel a rough "lip" or catchy wire of metal, you have successfully formed a burr. If there is no burr, the knife is not sharp yet. Do not flip until you feel it along the entire length.
Step 4: Flipping and Equalizing
Once the burr is formed along the entire edge on Side A, flip the knife to Side B.
- Repeat the grinding process.
- Your goal is now to create a burr on Side A (pushing the metal back the other way).
- Ensure you use the same number of strokes or time to keep the bevels symmetrical.
Step 5: Refining the Scratch Pattern
Switch to your finer grit stone (#6000 or similar). Repeat the process but with significantly less pressure (1-2 lbs). You are no longer trying to remove mass; you are polishing the scratches left by the coarse stone. The burr will become smaller and harder to feel, which is desired.

Step 6: Stropping (Burr Removal)
The final step is removing that microscopic wire edge. You can use a leather belt, a piece of denim, or even cardboard.
- Perform edge-trailing strokes (pulling the spine, not leading with the edge) on the material.
- This realigns the carbides and snaps off the microscopic foil burr.
- Do this 10-20 times per side.
Troubleshooting: Why Isn't My Knife Sharp?
If your knife still tears paper instead of slicing it, you likely fell victim to one of these common mechanical errors:
Table 3: Troubleshooting Matrix
| Symptom | Probable Cause | Scientific Solution |
|---|---|---|
| Edge is shiny but dull | Rounded Apex | You varied your angle too much, likely lifting the spine too high at the end of the stroke, rounding over the sharp apex you just created. Focus on wrist locking. |
| Sharp in some spots, dull in others | Inconsistent Burr | You did not verify the burr formation along the entire length of the blade before flipping. Go back to the coarser stone. |
| Edge feels "toothy" or rough | Remaining Burr | The burr wasn't fully removed during stropping. Increase the angle slightly for 1-2 very light strokes on the fine stone, then strop again. |
Conclusion
Sharpening is a fundamental skill that connects you to your tools. By understanding the parts of a knife blade and the physics of abrasion, you can maintain a razor edge without expensive jigs. Remember, the goal is geometric perfection at the apex—everything else is just polish.

FAQ: Common Questions About Knife Anatomy and Sharpening
1. Which parts of a knife blade are most prone to damage during sharpening?
The tip and the heel are the most vulnerable. The tip can easily be rounded off if it slides off the stone, while the heel can develop a recurve (a concave shape) if not sharpened evenly with the rest of the belly. Understanding these parts of a knife blade helps in applying consistent pressure.
2. What is the difference between the Primary Grind and the Secondary Bevel?
The Primary Grind creates the blade's general cross-section (thickness behind the edge), while the Secondary Bevel is the actual sharp edge that cuts. When you sharpen a knife, you are typically working on the Secondary Bevel. Thinning the Primary Grind is a more advanced maintenance task.
3. Does the "Cladding" or "Core Steel" affect how I sharpen?
Yes. Many high-performance knives use a hard core steel sandwiched between softer stainless cladding (San Mai construction). When sharpening, you will see two distinct layers on the bevel: the hazy soft cladding and the shiny hard core at the very edge (the apex). You must ensure you are abrading the core steel to form the edge.
4. What is a "Micro-Bevel" and do I need one?
A micro-bevel is a tiny tertiary bevel added at a steeper angle (e.g., 25 degrees) at the very apex of the edge. It increases edge durability by putting more metal behind the absolute edge. It is excellent for work knives that encounter hard materials, though it sacrifices a small amount of slicing aggression.


Leave a comment
All comments are moderated before being published.
This site is protected by hCaptcha and the hCaptcha Privacy Policy and Terms of Service apply.